As customers wonder
what the recommended way of installing and setting up Royal Server is
, here is a typical use case:
Tom is working as an systems engineer in a small team and manages the company’s IT infrastructure. Amongst other servers, there is a web farm that is hosting the company’s e-commerce web site on 30 servers. These web servers are running Windows Server 2012 R2 with IIS installed and have assigned IPs in the range from 10.1.2.1 to 10.1.2.30. Tom and his colleagues want to check, if there are web servers where the IIS service is stopped.
This post walks you through a typical setup of Royal Server and Royal TS to fulfill the use case.
1. Royal Server Setup
First, we install Royal Server on a dedicated machine. We recommend installing Royal Server close to the environment that you want to manage. In our use case, Royal Server could be installed close to the web farm from a network point of view.
For production environments we recommend to turn on “Require Authentication”. Only users, that are in the local windows user group “Royal Server Users” are allowed to talk to Royal Server with this setting. Since the authentication process might slow down your requests, you can cache the successful authentications for some minutes. 0 Minutes means no caching and every request is re-authenticated.
We also recommend using SSL in production environments. For this, you first need to select an installed certificate or create a self-signed certificate with the Configuration Tool. Your configuration should look similar to this:
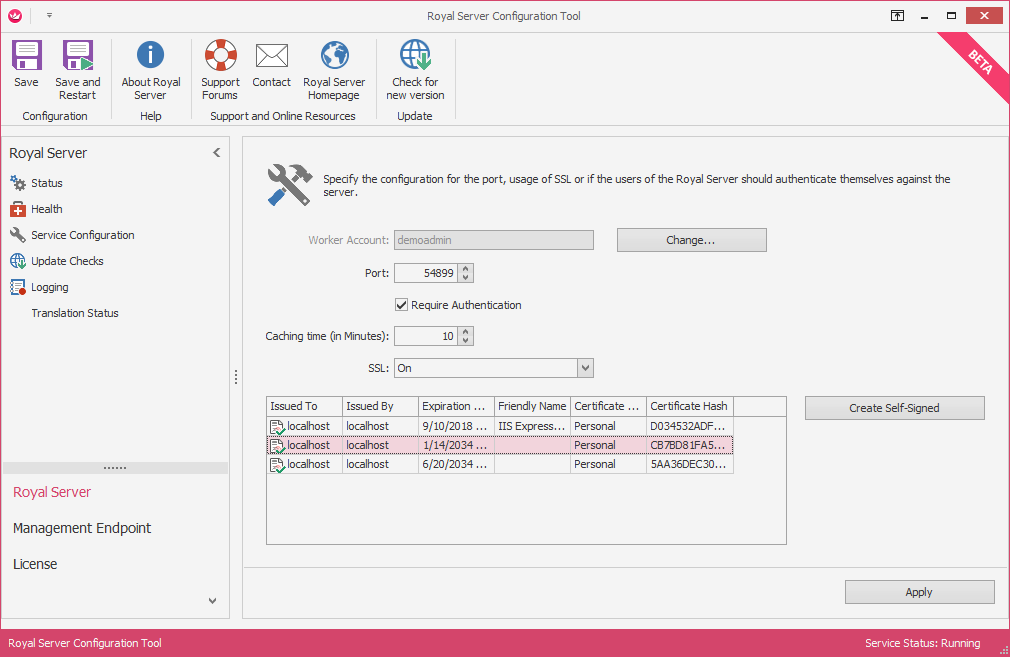
Royal Server configuration for production usage
After you have changed the configuration, click “Apply” and “Save and Restart”. Royal Server will be restarted for the new settings to take effect.
2. Royal TS (for Windows) Setup – Management Endpoint
We create an empty Royal TS document (“Company Web Site Farm”) and delete all default folders (Connections, Credentials, Tasks). Then, we add a Management Endpoint – it encapsulates all information that is needed to communicate with Royal Server. Typically, you have one Management Endpoint for each Royal Server installation.
Remark: This tutorial assumes that you use Royal Server and not “Direct Connect”. Royal TS (for Windows) V3 offers another mode where the application is using a direct connection to the managed servers called “Direct Connect”. While it is possible to use this from Windows, we recommend using Royal Server –
and here’s why
.
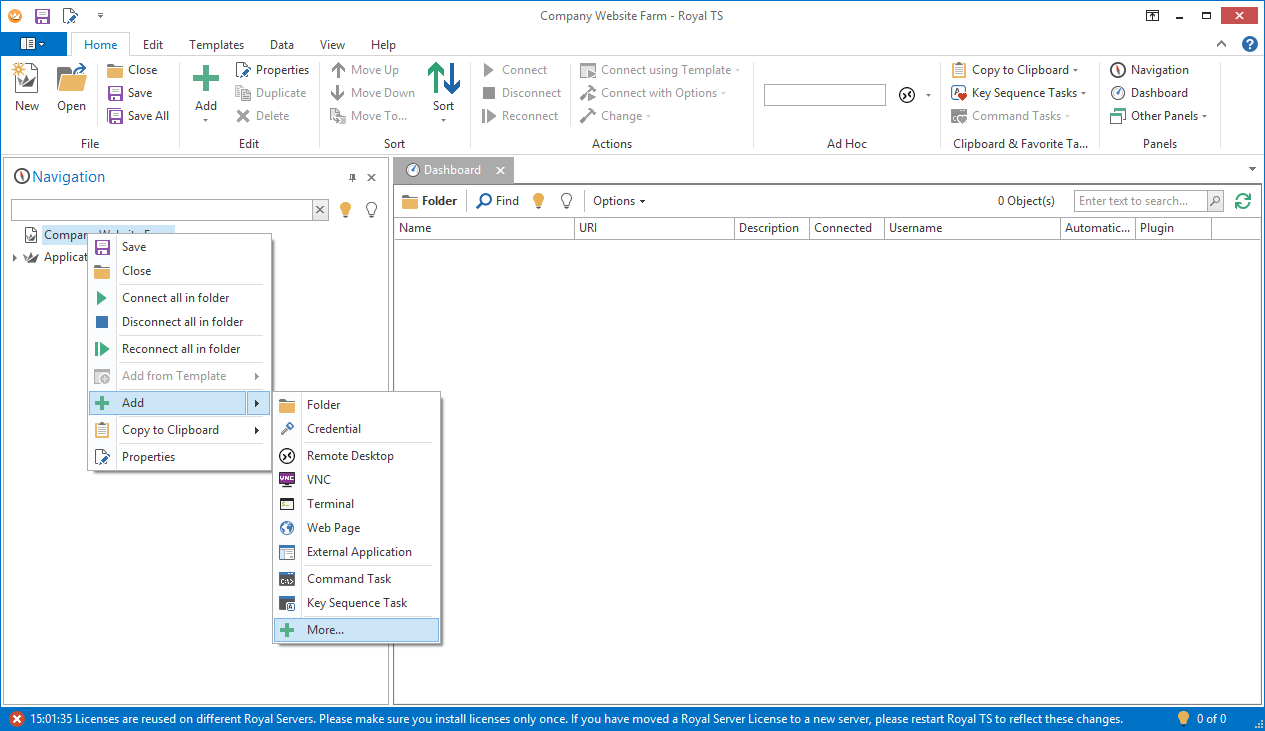
Adding a Management Endpoint via context menu
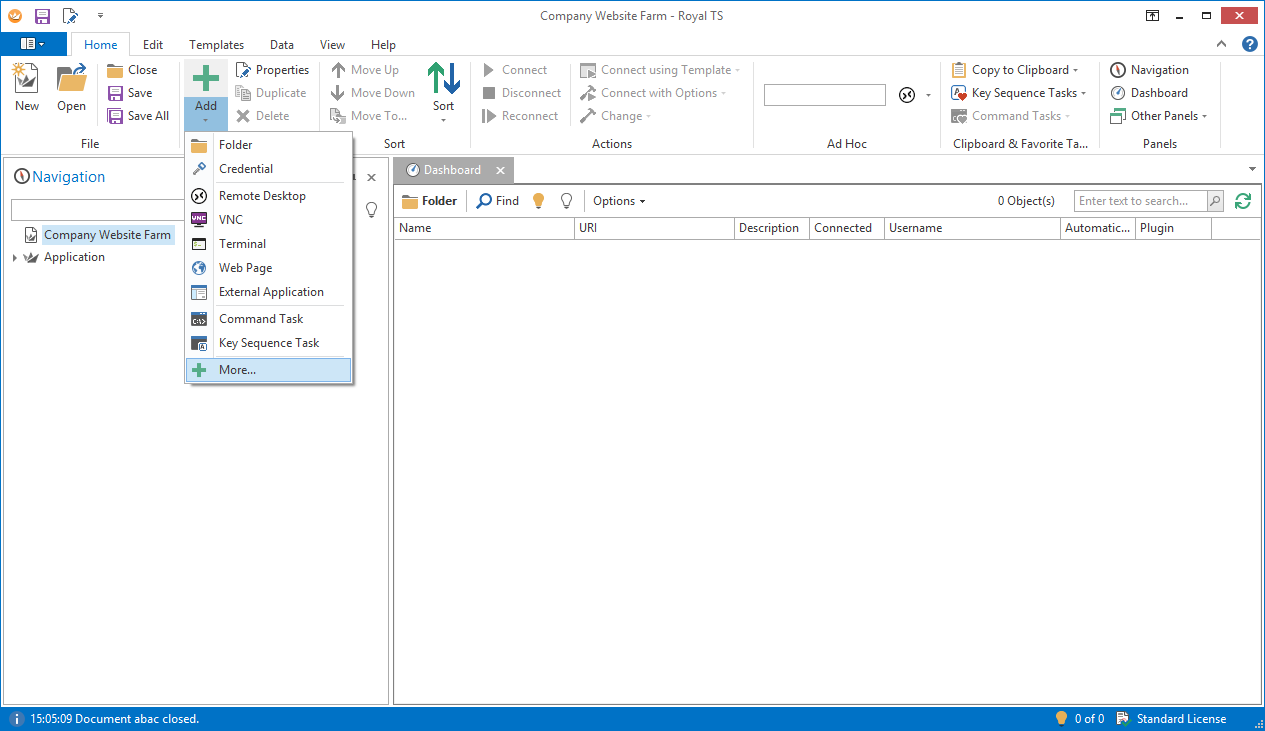
Adding a Management Endpoint via ribbon
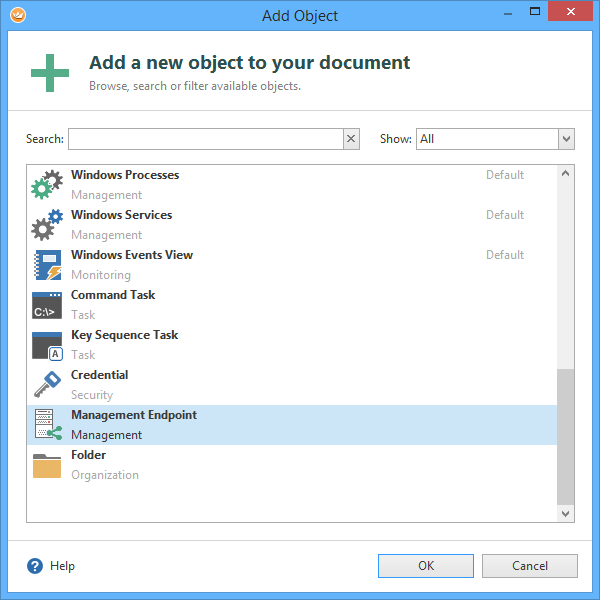
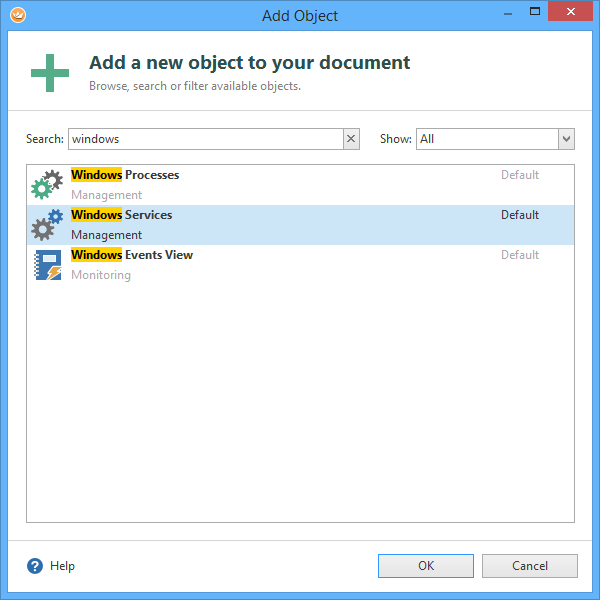
Add a new object to your document
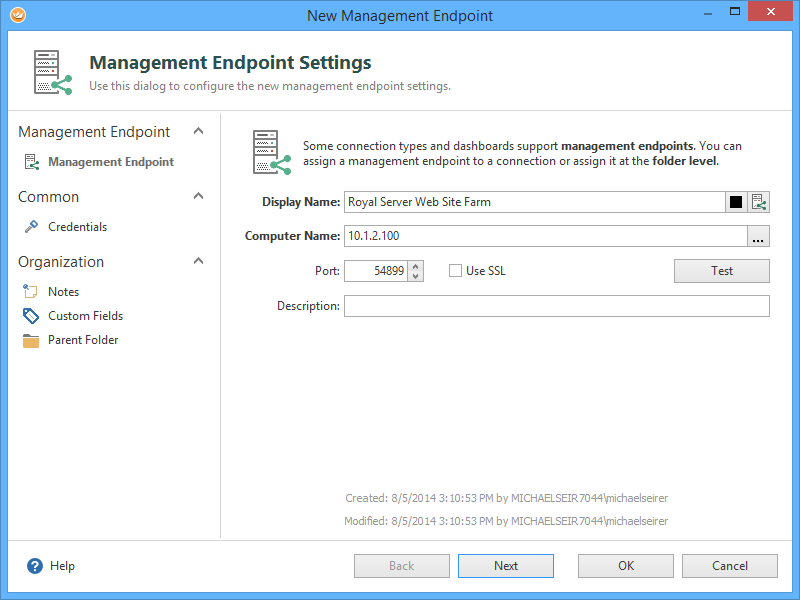
New management Endpoint configuration
Previously, we configured Royal Server to require SSL – make sure, you tick the “Use SSL” checkbox in Royal TS. And – since our Royal Server installation also requires authentication – we need to specify a Credential in Royal TS – this account has to be added to the “Royal Server Users” group on the server, where Royal Server is installed. Otherwise, you’ll get an “Access denied” error.
Specify the user to access Royal Server
If we configured the IP and port correctly, you can click the “Test” button to check if basic connectivity to Royal Server is working.
3. Royal TS (for Windows) Setup – Windows Services View
For this tutorial, we want to prepare a view that shows all web servers, where the “World Wide Web Publishing Service” is stopped (which is not a good thing for a web server):
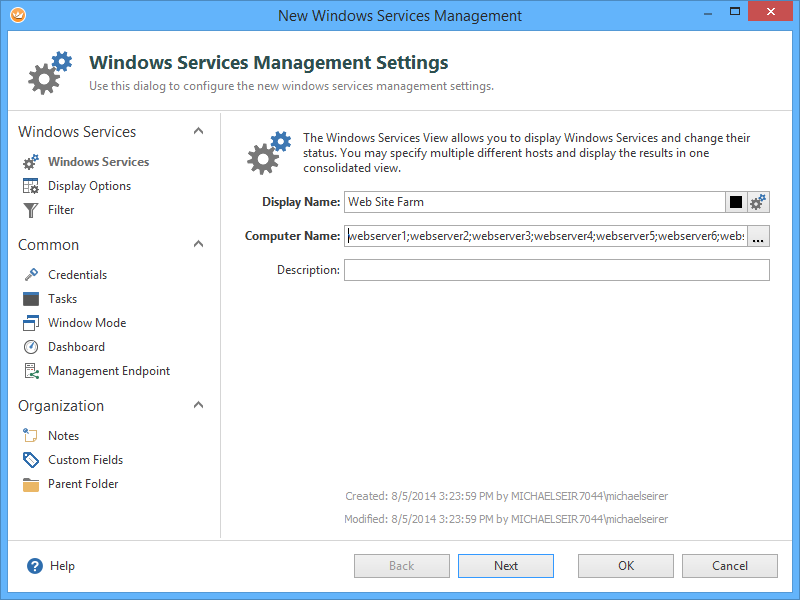
Start by adding a new “Windows Services” view.
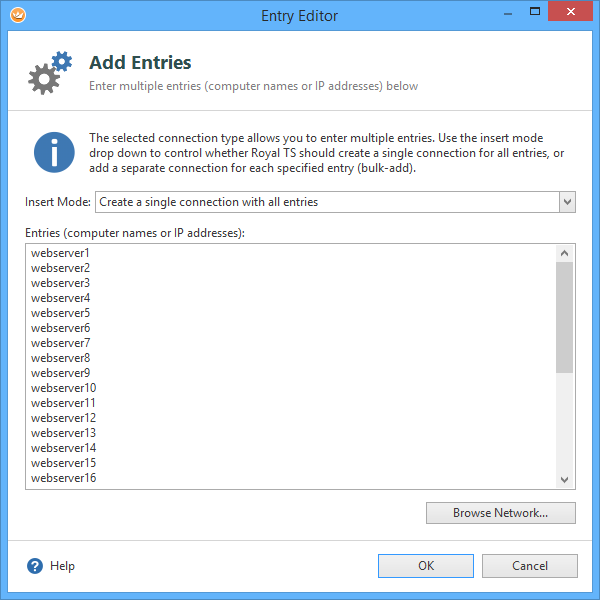
Specify the 30 web servers in the Computer Name field. You can either just write the servers separated by a semicolon, or click the “…” button to the right and get an editor which is a bit more convenient – e.g. it offers using the Windows Network Browser.
Make sure your Windows Services View is referencing the previously created Management Endpoint (click on Management Endpoint on the left navigation):
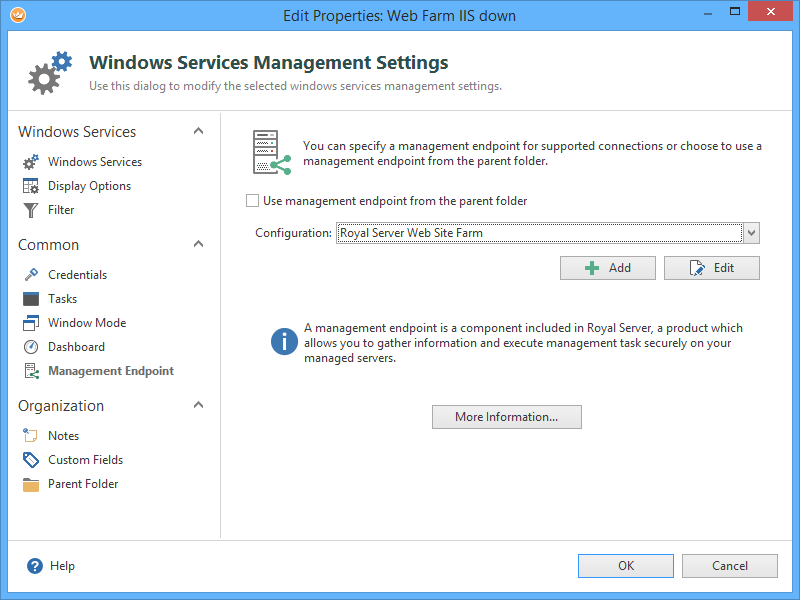
Assigning the already defined Management Endpoint
Each server that should be managed by Royal Server needs to have two settings configured:
-
Enable-PSRemoting (execute this PowerShell commandlet in an elevated PowerShell)
-
If the Windows Firewall is enabled, enable the following Firewall Rules: “Windows Management Instrumentation (WMI-In)” and “Windows Management Instrumentation (DCOM-In)”
Most of our Royal Server modules internally work with WMI, thats why Enable-PSRemoting is the easiest way to configure a Windows Server correctly.
For both of these steps, there is a PowerShell script that comes with the Royal Server installation that can be found at <royal-server-installation-dir>\scripts\prepare_server.ps1. This script checks the two requirements and configures them if you like. It needs to be executed on all the servers, that should be managed by Royal Server.
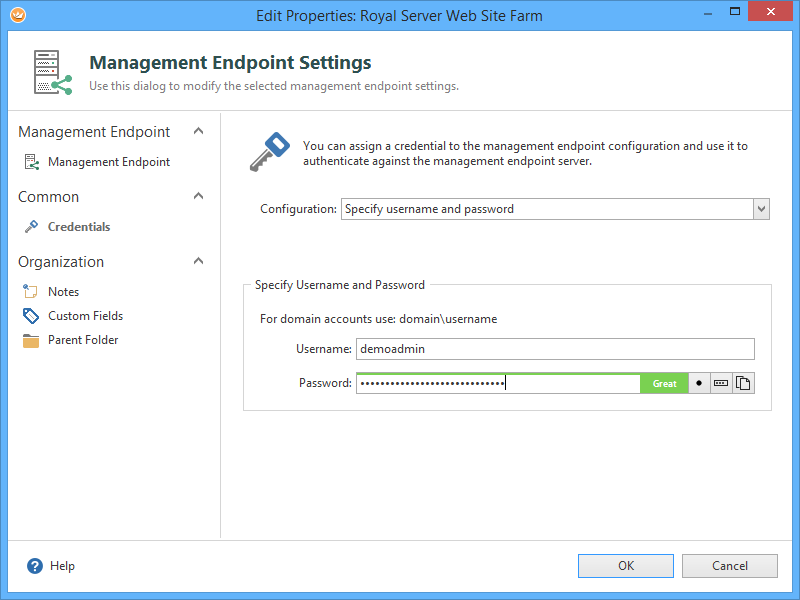
Managing a Windows Server remotely requires a windows account with sufficient rights (aka local admin rights). Usually, there is already a management account that can be used. Configure this account in the Credentials panel:
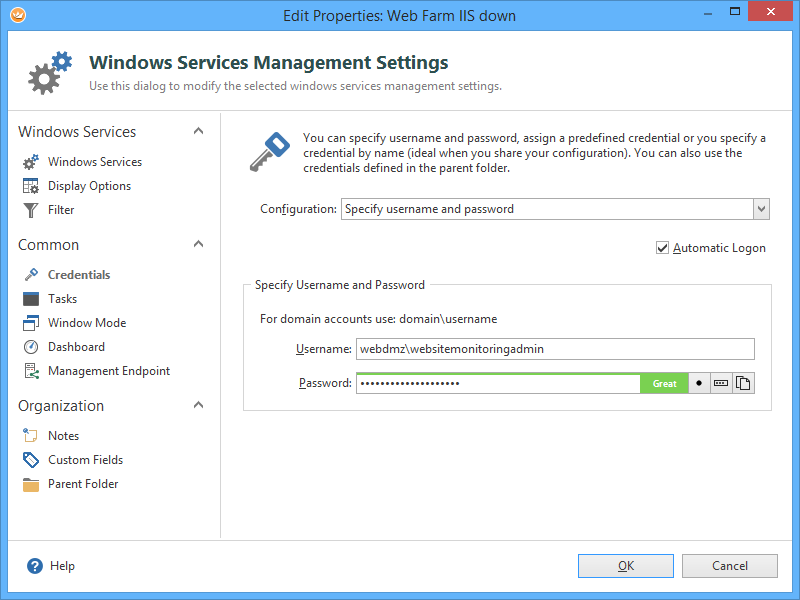
Specify an account with sufficient rights to access your web servers
We are only interested in the machines, where the service is actually stopped, we can specify this in the “Filter” panel (click on Filter on the left navigation):
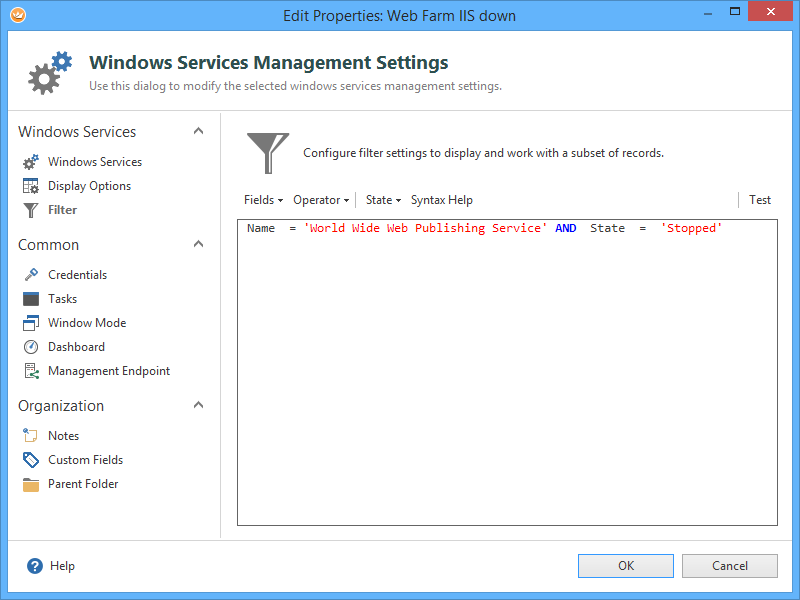
Show only stopped IIS services
Wrap Up
It looks like a lot of steps – but the setup of Royal Server and the Management Endpoint in Royal TS need to be done only once. After this, you can create many more views that use the Management Endpoint and can be shared with your team.
E.g. you could define a new Windows Events View that shows the Errors in the Windows Event Log for the last hour for all servers in the Farm. This way, you easily can see if a a single machine or all machines have issues at the moment.
But this is just the beginning. Royal TS/X offers so much more when it comes to flexibility and reusability: easy team sharing, manage multiple servers with a single click, Templates etc…!