After you have installed Royal Server, you should check Configure Royal Server now to review the default installation settings and adapt them to your needs. Although this post seems a bit long, you can leave everything default – except the Worker Account.
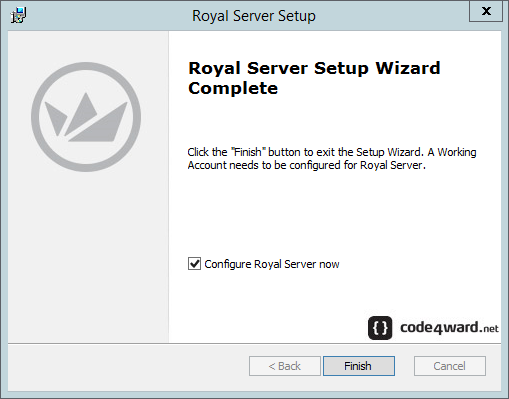
Attention: Make sure you configure the Worker Account, otherwise Royal Server is not able to connect to remote machines!
The Royal Server Configuration Tool enables you to check the status and health of Royal Server. You can configure installed components and manage your licenses with it.
Service Configuration
Worker Account
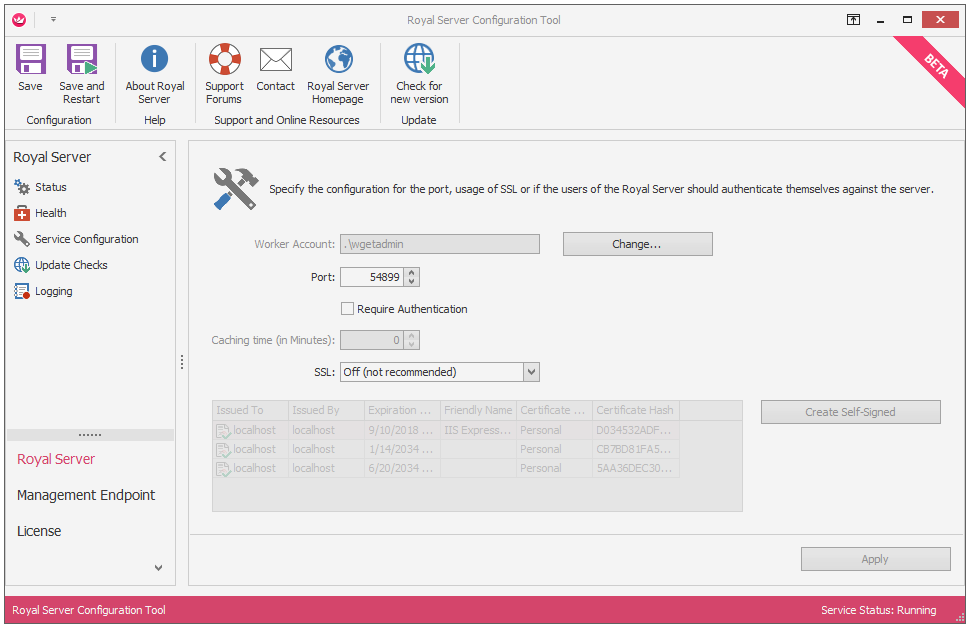
After the Royal ServerConfiguration Tool has been launched, it is strongly recommended to set a Worker Account. Royal Server is running as a Windows Service and as such is using the Local System account. But for the commands Royal Server is executing, a Worker Account is used. It is vital, that this account has network access rights, otherwise Royal Server is unable to manage your servers.
Port
Configuration of the port Royal Server is using
Require Authentication
If you want to restrict access to Royal Server, you can check “Require Authentication”. If checked, Royal Server only accepts requests from users who are members of the local group “Royal Server Users” (which will be created automatically). By default, the setup puts the local Administrator in this group. In addition, you need to setup and assign this credential in the Royal TS/X Management Endpoint. To improve performance when authentication is required, configure the Royal Server caching time (default is 5 minutes).
SSL
Set it to “On” if you need the communication between Royal TS/X and Royal Server to be encrypted. You have to select a pre-installed suitable certificate from the list or create a self-signed certificate with a single click
Logging Configuration
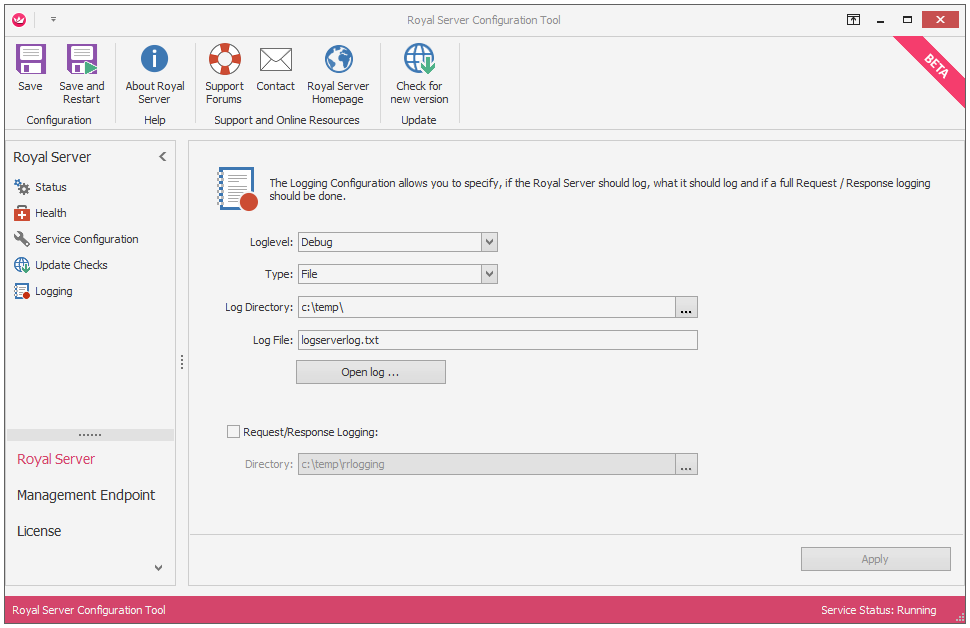
By default, Royal Server logs all Errors to the Windows Event log. A special log with the name “Royal Server Log” has been created automatically. Additionally you can enable Request/Response logging where full requests and responses are logged. For each request, two files will be generated: a <guid>_request.xml and a <guid>_response.xml.
Attention: This setting is producing a huge number of files and it is generally recommended to only turn it on for debugging purposes.
Check for Updates
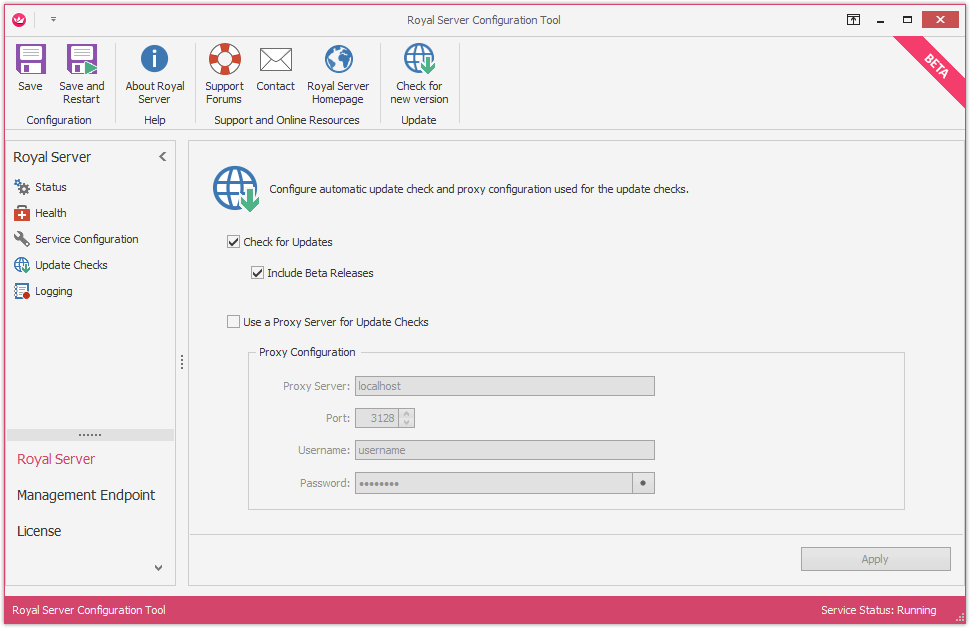
Especially during the beta, we will frequently deliver new versions of Royal Server (and Royal TS/X). Having “Check for Updates” enabled, notifies you when a new version is available. “Include Beta Releases” is taking beta releases into account as well. We recommend to always stay up to date –
Remark: Since we don’t expect you to have the Royal Server Configuration Tool open all the time, this update check is also included in Royal TS/X. This way you also get notified if there is a newer version of Royal Server available.
Licensing
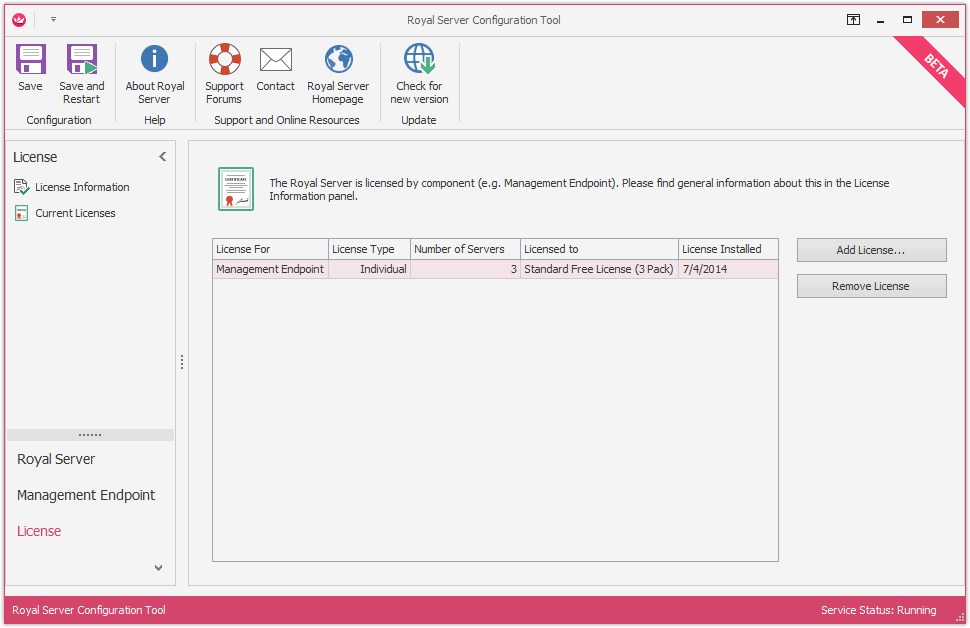
Royal Server is designed to be very extensible – because we have big plans for further features. Royal Server offers functionality through components – so far, there is only one component: the “Management Endpoint”.
Licensing of the Management Endpoint component is determined by the number of servers you want to manage. By default, each installation has a free Management Endpoint license pack for managing 3 servers “Standard Free License (3 Pack)”. You can install additional license packs to increase the number of managed servers. For larger environments we offer a very affordable unlimited license pack. Our licensing follows very simple rules:
- A managed server is computer or device represented by its hostname or IP address.
- It does not matter what operating system the device is running (server or client operating system, network device, etc.).
- It does not matter, if it is virtualised or not.
- It does not matter how many CPUs/cores the device has.
Server Pool Configuration
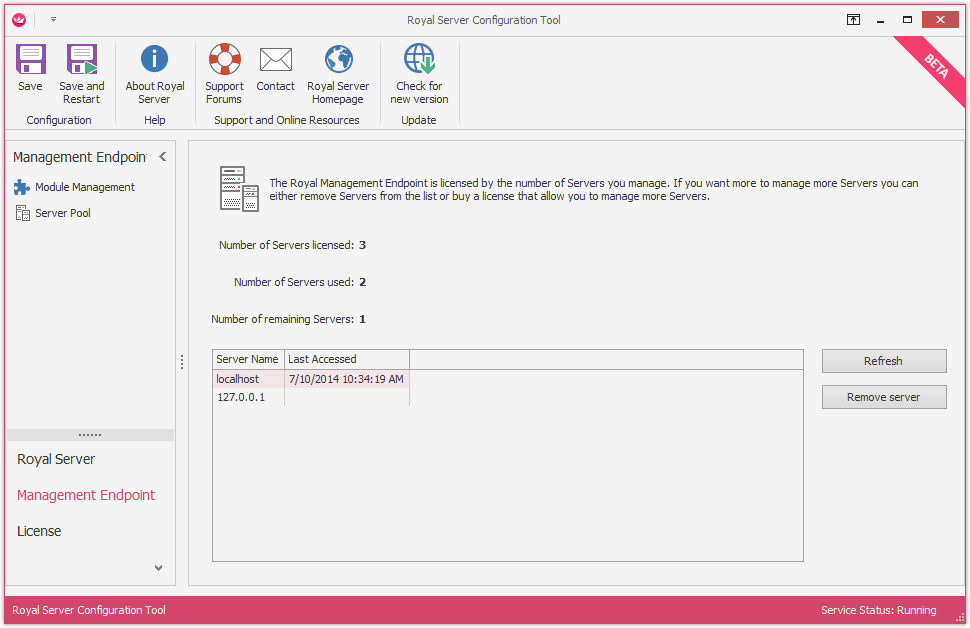
Royal Server is keeping track of the servers you manage. In the Server Pool configuration, you can delete previously managed servers to free up licenses. This panel shows the number of managed servers you have licensed, how many are used already and how many free licenses are available. The column “Last Accessed” shows the last timestamp Royal Server accessed this server (this information is stored in memory and is not immediately available after the service was started).
Managed Server Configuration
Each server that should be managed by Royal Server needs to have two basic things configured:
- Enable-PSRemoting
- Firewall should let through Royal Server traffic (default port is 54899)
1. Enable-PSRemoting
Most of the Management Endpoint modules are based on WMI. To enable the proper configuration for remote WMI calls, you need to execute the Enable-PSRemoting command in an elevated PowerShell console.
2. Firewall settings
In case the Windows Firewall is enabled the following two rules must be enabled: “Windows Management Instrumentation (WMI-In)” and “Windows Management Instrumentation (DCOM-In)”.
For the above two steps, we have also prepared a PowerShell script (in <royal-server-installation-dir>/scripts/prepare_server.ps1).
Royal TS/X Management Connection
Last but not least, you need to make sure you specify proper credentials when you configure a management connection (such as Windows Events or Windows Services) in Royal TS/X. In most scenarios, a user account who is member of the local administrators group is used. For low privilege environments a number of steps are necessary to grant non-administrative users the required rights.
Royal TS/X and Royal Server
Royal Server is now configured and waiting for requests. As next and last step, you need to install the latest version of Royal TS/X:
Configure your Management Endpoint in our clients apps and you are good to go. A detailed blog post regarding the required steps will be available soon